How to grow Tomatoes 🍅
📣 At a glance
- 🍅**Tomato plants**
  - 🌞 **Sun** Full
  - 🌧️ **Water** Every other day, if leaves
      are wilting = add water
  - 🥫 **Fertilize** Weekly with 20-20-20 at
          ~150-200 ppm or 33.5g, 13g, 12.5g
          (calc nitrate, triple super phosphate, potash)
          per 100 SF
  - 🧪 **PH** 6.2 to 6.8
  - 📏 **Spacing** 1.5 - 2 Feet apart per plant
  - 🧹 **Maintenance** Every few days, clear
          weeds, prune suckers
Introduction
Tomatoes are one of my favorite plants to grow. Depending on the type of tomato plant, each plant may produce anywhere from 20-35 lbs of tomatoes per plant annually. There are many types to consider. The following are brief list of common tomato types that I have grown:
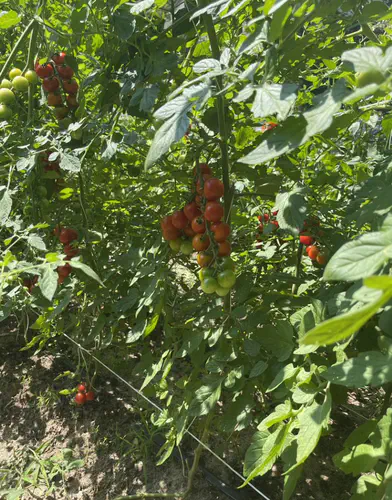
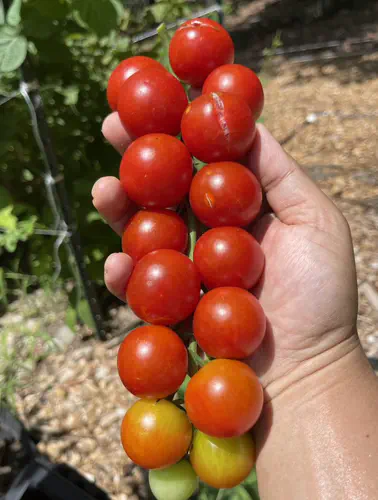
- cherry tomatoes: perfect for snacking, makes salad prep quick and easy
- san marzanos: excellent for tomato sauces for pasta dishes and pizza. They have a mild and sweet flavor
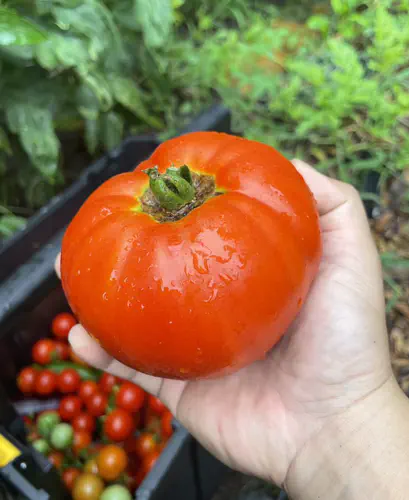
- big beef tomatoes: perfect for burgers, bacon lettuce tomato (BLT) sandwiches, salsa, caprese salad. Provides a firm texture with crisp and flavor.
- sakura tomatoes: all around medium size tomatoes for many different uses
Tomatoes can also be Indeterminate or Determinate.
- Indeterminate tomatoes continue to grow while producing fruit.
- Determinate tomatoes grows all fruit at a given time and ripens all together. The plant is typically finished afterwards.
Check the section NJ Zone 7 Seed link on the right regarding typical tomato varieties that grow well in NJ. I will update when I can locate similar lists for other zones.
🏁 Starting
First step is to determine your Zone. Click here to access the zone map 🗺 or on the left to get your zone information. The dates below are guidelines as to when the best time of year to start the tomato seeds. If they are started too early indoors, may not have enough space and light output to continue the growth of tomato plants in larger containers. If starting too late, may not have enough time to obtain successful yields or the young plants may not manage well under the hot summer sun.
Start dates
Sizing
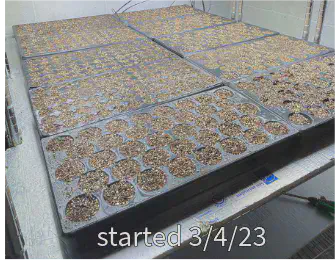
Tomato seeds should be started in 50 count trays. A tray is roughly about 21¼" x 11¼" x 2¼" or 19.6" x 9.75". Each cell within in the tray has dimensions: 1¾" x 1¾-2.72". This will provide each tomato seedling with ~4-6 weeks of growth. Larger size containers like egg cartons, small plastic cups can also be used, however the larger the starting container, the potential waste of space/soil if something were to go wrong. Also, try not to plant tomato seeds in smaller containers. They will out grow the space quickly which would requiring transferring the young seedlings to larger size pots. More handling of the young fragile seedlings = greater risk of damage, resulting in slow wilt, then eventual trip to the compost bin.
Soil and seeding
Utilize potting soil that can be purchased from major retailers like lowes/home depot/walmart/aldis/target. The bagged soil should be labeled potting soil. Potting soil is most suitable for seed germination due to its drainage capacity. Bags labeled garden soil or dirt will not allow good drainage in containers. Water drainage in containers are required to prevent water stagnation. Stagnated water can eventually suffocate and rot plant roots.
Within each cell/container plant a single tomato seed. If you only have a few containers and many seeds, go ahead and plant 2-3 seeds per small container. If/When all the seeds sprout, cut the extra seedlings and leave a single plant to continue to grow.
During this stage, ensure the top soil area is kept moist. Use a spray bottle to water the top or gently pour water being carefully not to wash away the seeds and disrupt the soil. A plastic dome works well in keeping a moist environment.
A heating mat is recommended. Temperatures around 75-80 helps with speeding up germination, otherwise temps in the 60s will prolong it. Light is also not as important for germination at this stage. However, a strong light source IS required as soon as the seeds sprout. Without a suitable light source that provides what plants require, will result in leggy stretched seedlings. From my experience, leggy/stretched seedlings eventually tip over and wither.
Seedling stage
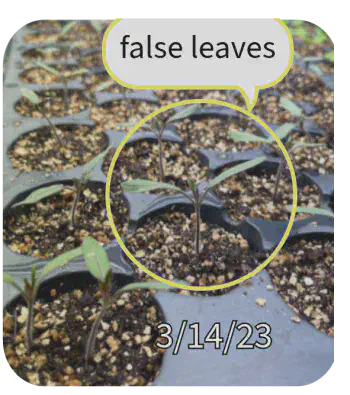
When the plant first emerges from seed, the first leaves are called ‘false’ leaves known as Cotyledons. The picture below is about 10 days from initial planting of the tomato seed:
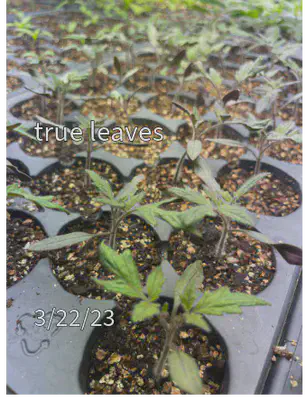
The young plant will continue to grow until ’true’ leaves appear. See below of tomato true leaves appearing after 8 days:
During this time, it is recommended to provide 14-16 hours of light. Keep with watering such that soil is moist and not overly saturated and fertilize after ~2 weeks. 50 PPM of general fertilizer 20-20-20 once a week.
Transferring and Maintenance
❄️ ⛄ Before transplanting, ensure the dangers of frost are over and temperatures are consistently around 60 F degrees or higher. ⛄ ❄️
After about a month of growth, the tomato plants will begin to look as pictured below. I simply kept with fertilizing, exposure to lights, and watering. At this stage, tomatoes may be prepped for transfer into the ground.
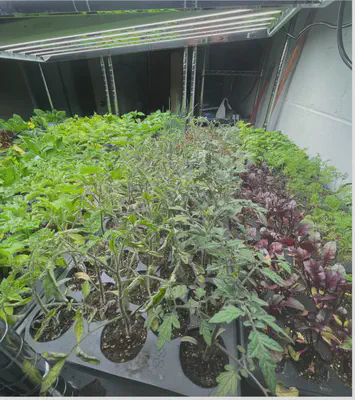
If for some reason, planting needs to be delayed due to busy schedule, temperatures are colder than expected, raining for weeks, etc… the young plants can be transferred to larger pots for more growth and time.
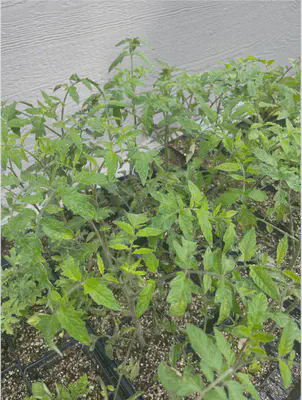
Below is a picture of tomato plants transferred to 4 inch pots. It was a cold/rainy spring in 2023 zone 7.
💡 Prior to transferring the tomato plants into the ground, ensure the tomato plants are acclimated to sun exposure for at least a few days. Plants can be placed under direct sunlight for 1-3 hours (start with less and gradually increase the time) and then returned under shade or back indoors. Pay attention to any changes. If the tomato plants are wilting, check the soil moisture and return to under shade. However, if there are no signs of stress after a few days, they can be transplanted.
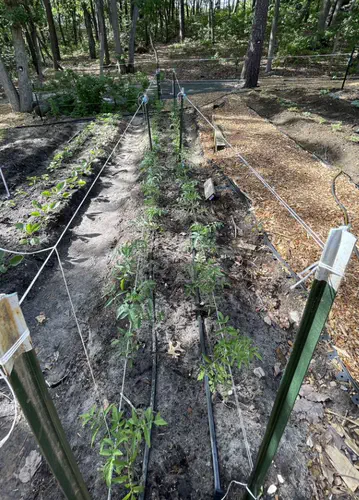
Plants should be spaced 1.5-2 feet apart. This spacing ensures adequate air flow and space for the tomato plants to grow and produce. Continue to maintain watering and fertilizing.
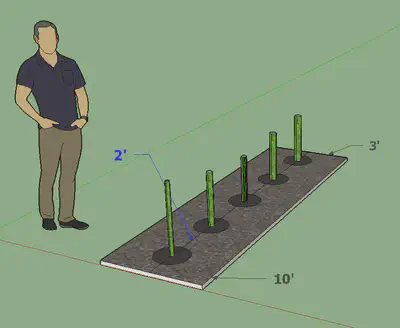
Fertilizing 💪
📚 According to Cornell University the following rates are recommended for tomato plants: 1
For Nitrogen (N), (100 lbs) per acre.
For Phosphorus (P)
| if current P levels are (lbs /acre) | < 3 | 3-5 | 6-12 | 13-39 | 40+ |
|---|---|---|---|---|---|
| add P lbs per acre | 200 | 150 | 100 | 50 | 20 |
For Potassium (K)
| if current K levels are (lbs /acre) | < 50 | 50-99 | 100-199 | 200-299 | 300+ |
|---|---|---|---|---|---|
| add K lbs per acre | 240 | 180 | 120 | 60 | 0 |
Taking average values for P and K we can use, per acre (i.e. 43560 square feet).:
- N 100 lbs
- P 100 lbs
- K 120 lbs
Now that we know the weight required of each NPK value, now determine the amount of fertilizer equivalent.
📚 Utilize this tool and input your fertilizer and NPK values required (i.e. the table above) https://aesl.ces.uga.edu/soil/fertcalc/
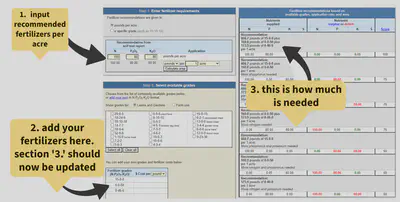
The required fertilizers for 1 acre are now listed below:
- 667 lbs of 15-0-0 calcium nitrate
- 217 lbs of 0-46-0 triple super phosphate
- 240 lbs of 0-0-50 potash
Lets now convert lbs to grams to allow for easier division of square feet:
- 302546 grams of 15-0-0 calcium nitrate
- 98429.5 grams of 0-46-0 triple super phosphate
- 108862 grams of 0-0-50 potash
Now convert to square feet by dividing the grams by 43560 to get fertilizer by SF
- 6.7 grams of 15-0-0 calcium nitrate
- 2.6 grams of 0-46-0 triple super phosphate
- 2.5 grams of 0-0-50 potash
Therefore, for a 100 sf garden, total fertilizer required for the lifespan of the plants are:
- 670 grams of 15-0-0 calcium nitrate
- 260 grams of 0-46-0 triple super phosphate
- 250 grams of 0-0-50 potash
With these values, we can now determine the weekly serving size by dividing the amount of fertilizer by the number of weeks the plant may grow.
Over 20 weeks, you can apply the following weekly for a 100 SF garden of tomatoes
- 670/20 = 33.5 grams of calcium nitrate weekly
- 260/20 = 13 grams of triple super phosphate
- 250/20 = 12.5 grams of potash
These fertilizers can simply be placed near the stem of each plant. As they get watered, the fertilizer will break down and make its way down to the roots.
In the ground
Harvest 🍅
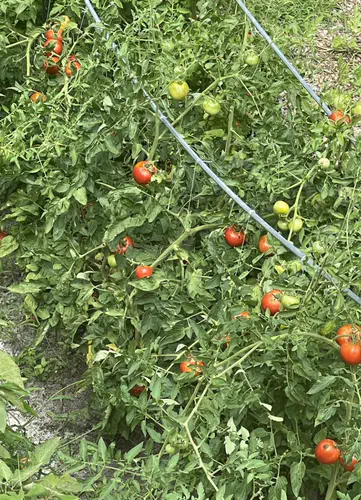
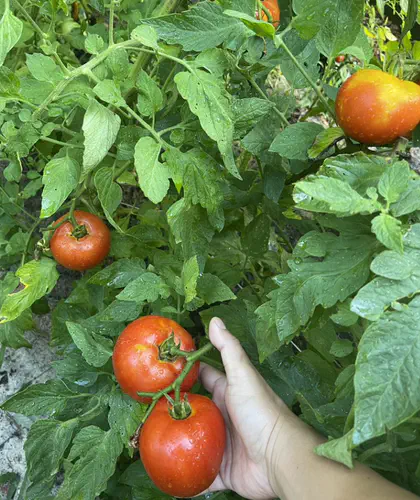
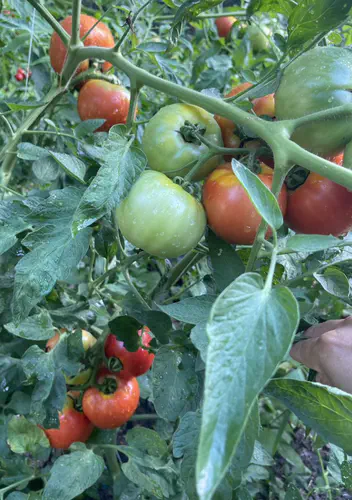
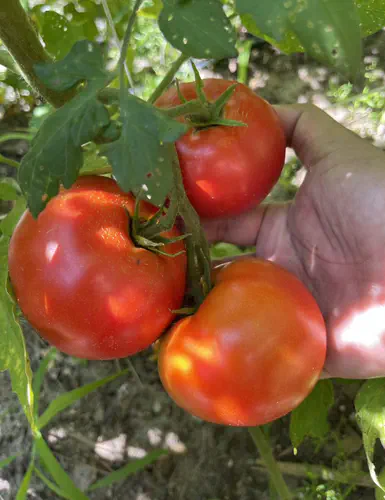
The first tomato harvest started middle of July (Zone 7b) when the green tomatoes started to turn red. Plants continued to grow and produce fruit until November. You can also harvest green tomatoes and allow them to rippen on your counter top.
Notes
Gallery (coming soon)
NJ Zone 7 seed list:
A recommended list of tomatoes that grow well in NJ, provided by Rutgers University 2
| Season | Variety | Days to Maturity | Vine Type | Disease Resistance | Fruit Size (oz.) |
|---|---|---|---|---|---|
| Early | Early Girl | 50 | Indeterminate | V,F | 4 |
| Early Goliath | 58 | Semi-determinate | V,F,N | 8 | |
| Fourth of July | 49 | Indeterminate | V,F,N,T | 4 | |
| Moreton | 70 | Indeterminate | V | 8 | |
| Red Deuce | 72 | Determinate | V,F,T | 10 | |
| Sunstart | 66 | Determinate | V,T | 10 | |
| Mid-Season | Better Boy | 75 | Indeterminate | V,F,N | 12 |
| BHN 589 | 75 | Determinate | V,F,TMV | 7 | |
| Big Beef | 70 | Indeterminate | V,F,N,TMV | 10 | |
| Big Boy | 78 | Indeterminate | 16 | ||
| Celebrity | 72 | Semi-determinate | V,F,N,T | 10 | |
| Jet Star | 72 | Indeterminate | V,F | 10 | |
| Mountain Magic | 66 | Indeterminate | V,F,EB | 2 | |
| Red Defender | 75 | Determinate | V,F,T | 8 | |
| Rutgers 250 | 74 | Semi-determinate | 10 | ||
| Scarlet Red | 73 | Determinate | V,F | 12 | |
| Sunbrite | 75 | Determinate | V,F | 10 | |
| Late Season | Ramapo | 85 | Indeterminate | V,F | 12 |
